Prepros is a great tool to handle your generic build tasks like compiling Sass, process images, and bundle JavaScript.

Currently, we can use the 7th version of it, which has more knowledge than ever before. I like to use this small tool to simplify my development process. You must know that for an advanced build task, you always need Gulp, Webpack, or any other tool, but for a lot of job, it is more than enough.
A useful newer feature is JS bundling and npm handling. Although I’ve been using it for a while, I still find new (for me) functionality like the custom tools that help us to run custom commands (like an npm command).
What is a Custom Command?
A custom command is your own tool, which isn’t supported by Prepos, but you still want to run it (anything you can run in your command line). It is like a plus layer that runs in your build stream, like a hook.
How to Use a Custom Tool?
Unfortunately, the custom command documentation isn’t the best, but if you are familiar with your command prompt and npm, you will get it.
The only info that you can find on the official documentation page is about the placeholders. Using placeholders, we can customize our commands with replaceable sections that are needed for any command.
{{input}} — Quoted path of the input file.
{{rawInput}} — Unquoted path of the input file.
{{output}} — Quoted path of the output file.
{{rawOutput}} — Unquoted path of the output file.
{{inputDir}} — Quoted folder of the input file.
{{rawInputDir}} — Unquoted folder of the input file.
{{outputDir}} — Quoted folder of the output file.
{{rawOutputDir}} — Unquoted folder of the output file.
{{rootDir}} — Quoted path of the project folder.
{{rawRootDir}} — Unquoted path of the project folder.
But what custom command do we need? For me, it was PurgeCSS. Using PureCSS, we can remove some unnecessary bloat from our CSS that is sometimes required when we pull more significant assets into our projects (like the Bootstrap grid).
Use PurgeCSS with Prepros
You can use any tool that is available through CLI, but in this article, I will show you the PurgeCSS setup.
First, you have to install it to your system globally through npm with the following command:
npm i -g purgecss
With the purgecss –help command, you can see the available flags, but reading through the complete documentation could still be useful. We can also configure the CLI with a standalone file (purgecss.config.js) that simplifies the job.
Next, create a file at your project root named purgecss.config.js, where we will place our config.
module.exports = {
    content: ['**/*.php', '*.php', 'assets/scss/**/*.scss'],
    safelist: [
        /^rtl(-.*)?$/,
        /^home(-.*)?$/,
        /^blog(-.*)?$/,
        /^archive(-.*)?$/,
        /^date(-.*)?$/,
        /^error404(-.*)?$/,
        /^logged-in(-.*)?$/,
        /^admin-bar(-.*)?$/,
        /^no-customize-support(-.*)?$/,
        /^wp-custom-logo(-.*)?$/,
        /^search(-.*)?$/,
        /^nav(-.*)?$/,
        /^wp(-.*)?$/,
        /^screen(-.*)?$/,
        /^navigation(-.*)?$/,
        /^(.*)-template(-.*)?$/,
        /^(.*)?-?single(-.*)?$/,
        /^postid-(.*)?$/,
        /^post-(.*)?$/,
        /^attachmentid-(.*)?$/,
        /^attachment(-.*)?$/,
        /^page(-.*)?$/,
        /^(post-type-)?archive(-.*)?$/,
        /^author(-.*)?$/,
        /^gallery(-.*)?$/,
        /^category(-.*)?$/,
        /^tag(-.*)?$/,
        /^card(-.*)?$/,
        /^menu(-.*)?$/,
        /^tags(-.*)?$/,
        /^tax-(.*)?$/,
        /^term-(.*)?$/,
        /^date-(.*)?$/,
        /^(.*)?-?paged(-.*)?$/,
        /^says(-.*)?$/,
        /^depth(-.*)?$/,
        /^comment(-.*)?$/,
        /^comments(-.*)?$/,
        /^children(-.*)?$/,
        /^crnb(-.*)?$/,
        /^custom(-.*)?$/,
        /^custom-background(-.*)?$/,
        /^port-description(-.*)?$/,
        'separator',
        'generic-form',
        'is-visible',
        'aria-current',
        'google-map',
        'pre'
    ]
}
You can see we set up the source files (content property) and the whitelist (with patterns too). The patterns are for generally for WordPress because it was used for a WP project.
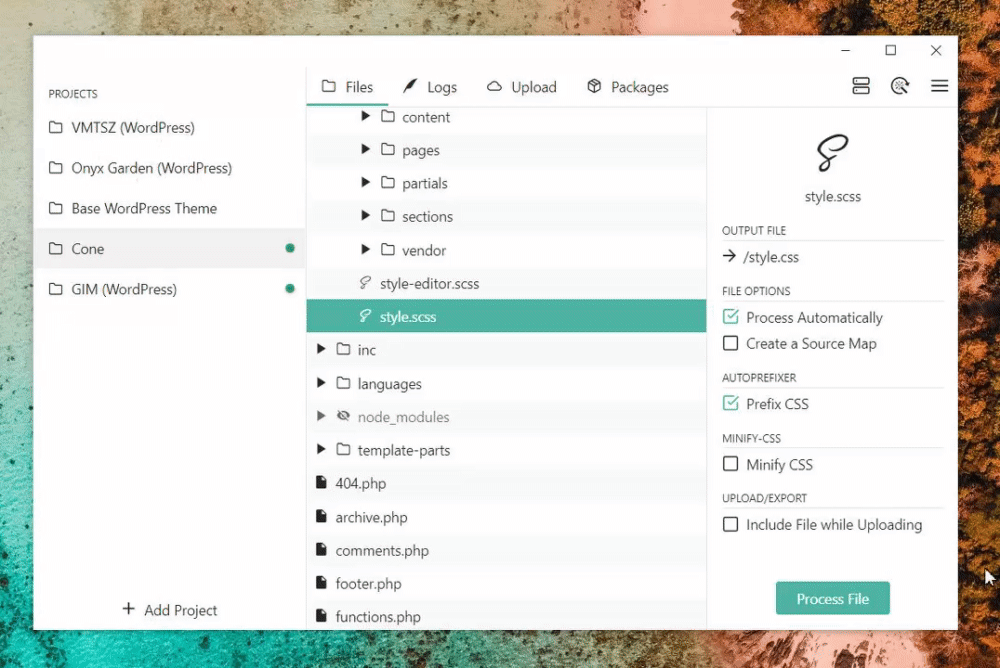
The last step is to add the custom task to our Sass build process. For this open, the “Project Settings”, navigate to the “CSS Tools” menu and select “Sass” from the list. Here scroll down to the tasks and click on the “Add Custom Command”. The command is the following:
purgecss --css {{input}} --output {{output}} --config ./purgecss.config.js
You see why we need the placeholders here; otherwise, our command won’t know where to find our file and output root. Here we also set the config file’s origin.
As you see, you can turn on and off the command with the checkbox before the command field or in the related sidebar.

Summary
I was surprised that I could do this kind of task with Prepros. I hope it can help you because in a lot of cases I can’t recommend this handy app enough.
 More in #tools category

